Collabion Charts for SharePoint allows you to export your charts as an image or a PDF (Portable Document Format) file. You can export the chart as an image in two formats-JPEG and PNG. You can also specify whether you want to export the chart at client-side or server-side.
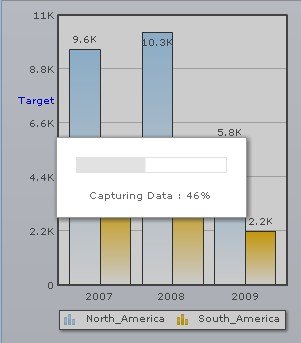
Furthermore, in the Image/PDF tabbed section, you can customize the appearance of the progress message that will be displayed while the chart is being exported. The progress message indicates the percentage of the chart that has been exported.
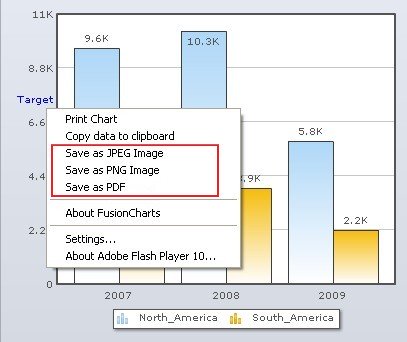
To export the chart, you first need to render it in the browser. After the chart has been rendered in the browser, you can use the context menu to export the chart data and save it as an image or PDF file.
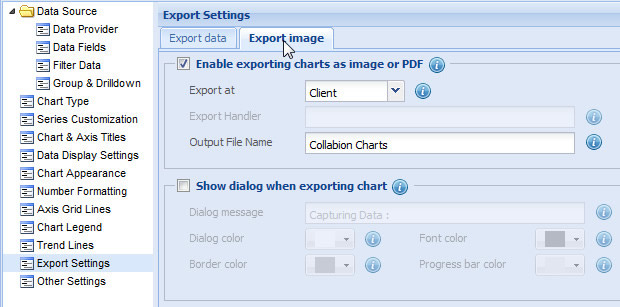
In the Image/PDF tabbed section, you can do the following:
- Enable export of the chart as an image or PDF file
- Specify the location where the chart will be exported
- Specify the location of the export handler
- Specify the file name of the exported image or PDF
- Display a progress message during chart export
- Customize the appearance of the progress message
Enable export of the chart as an image or PDF file
- Select the Enable exporting charts as image or PDF check box to enable export of the chart as an image or PDF.

Note: Clear the Enable exporting charts as image or PDF check box to disable the export of chart as an image or PDF file. If this check box is cleared, all the relevant fields are deactivated.
Specify the location where the chart will be exported
You can save the exported chart at client-side or server-side.
- In the Export at list, select the appropriate location.
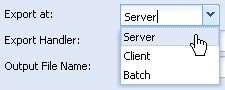
Note: To export multiple charts simultaneously, select the Batch option in the Export at list. You can export the chart data by using the context menu and paste the generated CSV data to clipboard.
Specify the location of the export handler
A chart handler is a processor which converts the exported chart into image or PDF file. When you specify the location of the exported chart as server-side, you also need to specify the location of the export handler.
![]()
- In the Export Handler box, enter the path of the export handler.
Specify the file name of the exported image or PDF
You can specify the file name with which the exported image or PDF will be saved. By default, the exported file is saved as FusionCharts.
![]()
- In the Output File Name text box, enter the name with which you want to save the image or PDF file.
Display a progress message during chart export
You can display a progress message to indicate the percentage of the chart that has been exported.
- Select the Show dialog when exporting chart check box to display the progress message during chart export.

Customize the appearance of the progress message
You can customize the appearance of the progress message as per your requirement.
- Text: In the Dialog message text box, enter the text of the progress message. The default message text is, "Capturing Data: "

- Dialog color: Select any color from the color window to change the background color of the progress message box.

- Font color: Select any color from the color window to change the font color of the progress message.

- Border color: Select any color from the color window to change the border color of the progress message.

- Progress bar color: Select any color from the color window to change the color of the progress bar.
